Welcome to Little celebration world! I am very excited for this post as I am making a butterscotch cake for my parents’ anniversary. Today is their 21st anniversary and they didn’t prefer chocolate so I thought why not butterscotch? November is always a festive and celebrative month for us which I hope is reflected in the cake!
The cake:
Ingredients:
2 cups all purpose flour
½ cup oil
½ cup fresh room temperature curd
1 cup powdered sugar
2 tsp baking powder
1 tsp baking soda
Milk as required
Pinch of salt
½ tsp vanilla essence
½ tsp butterscotch essence
Directions:
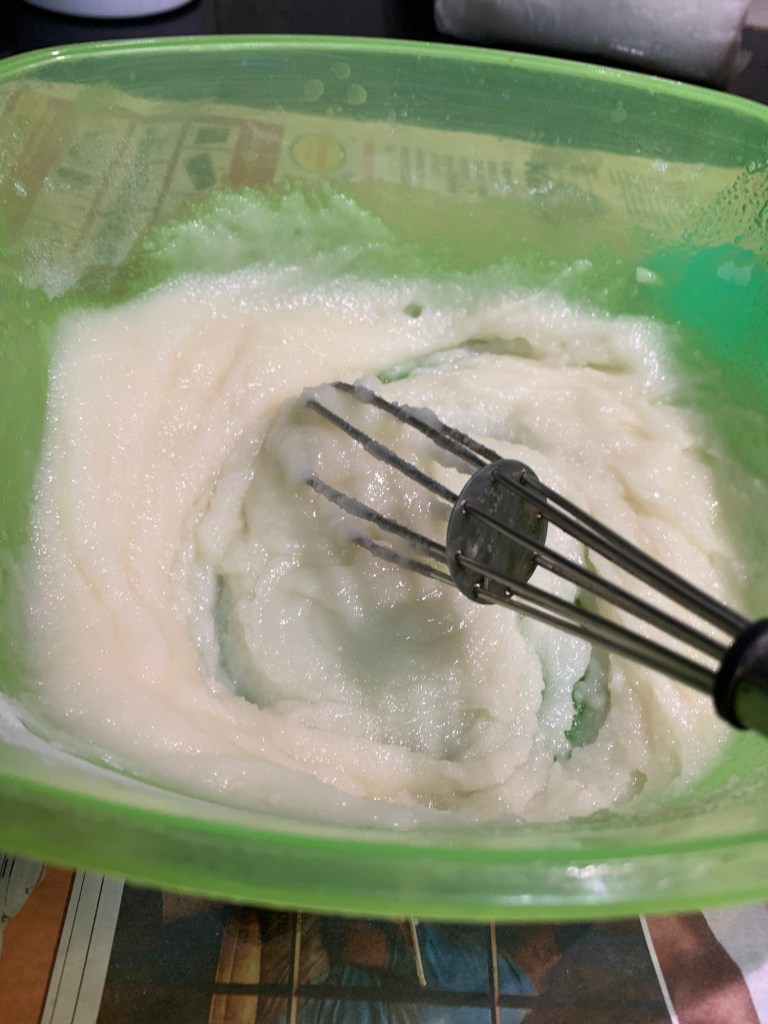
. First, add oil and sugar to a bowl. Whisk it nicely till it’s well combined and fluffy. Now add the curd and the essence.
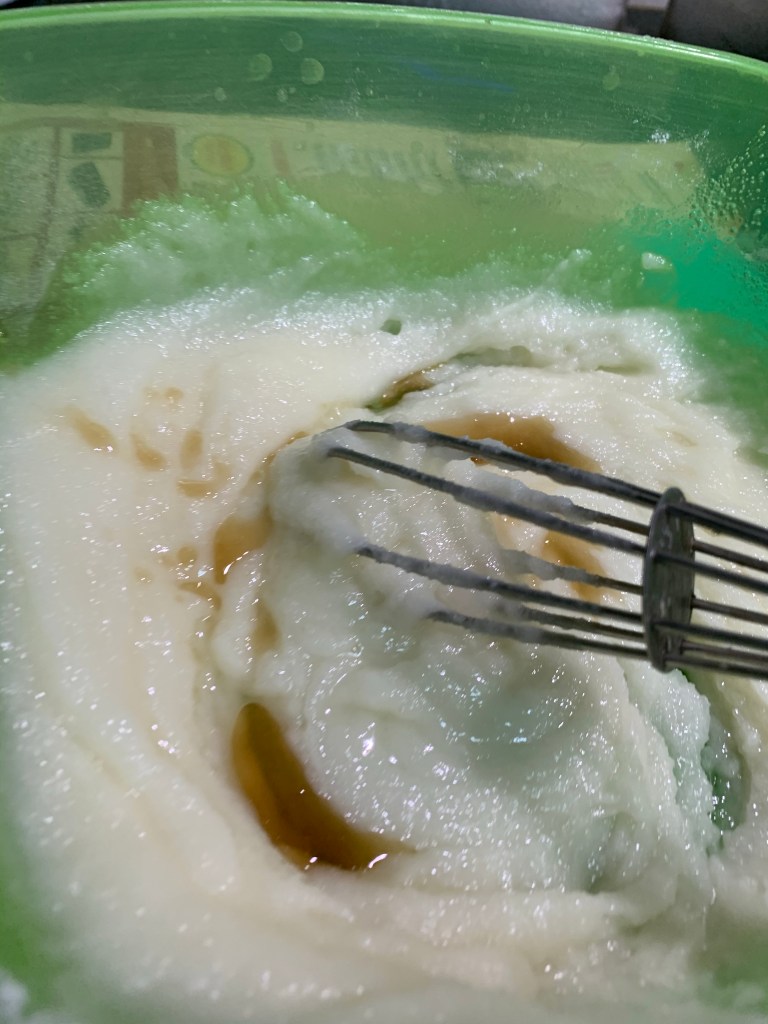
. Mix this also nicely
. Sieve the flour, baking powder and soda into the bowl.
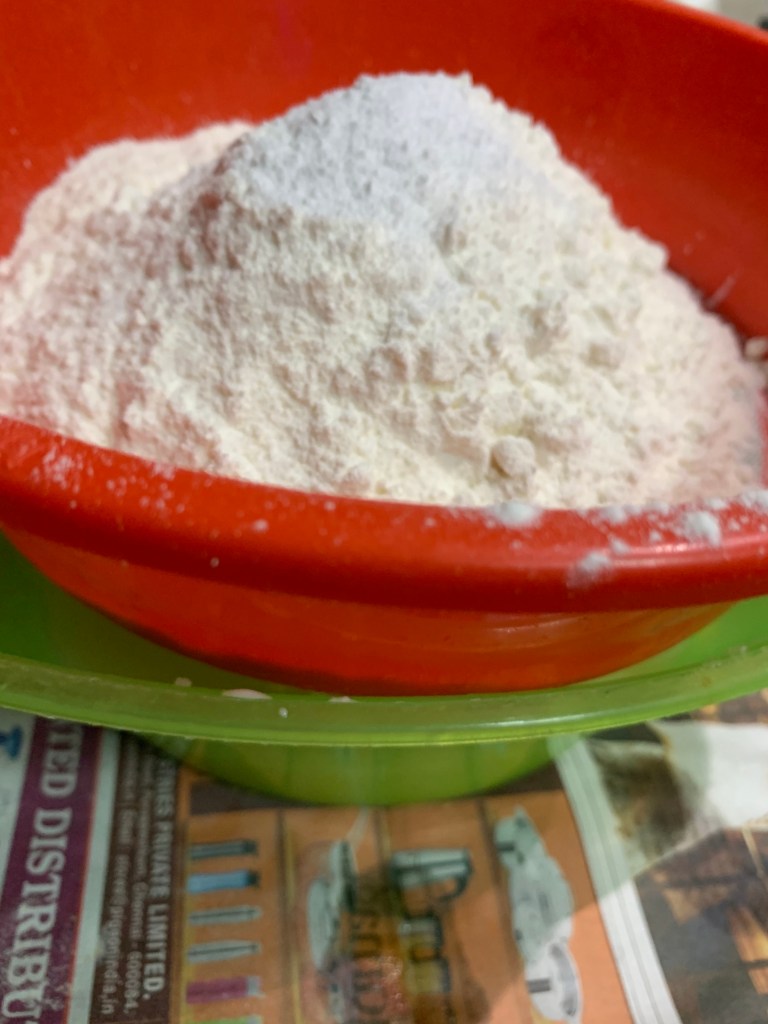
. Then, mix it with the wet ingredients with the cut and fold method.
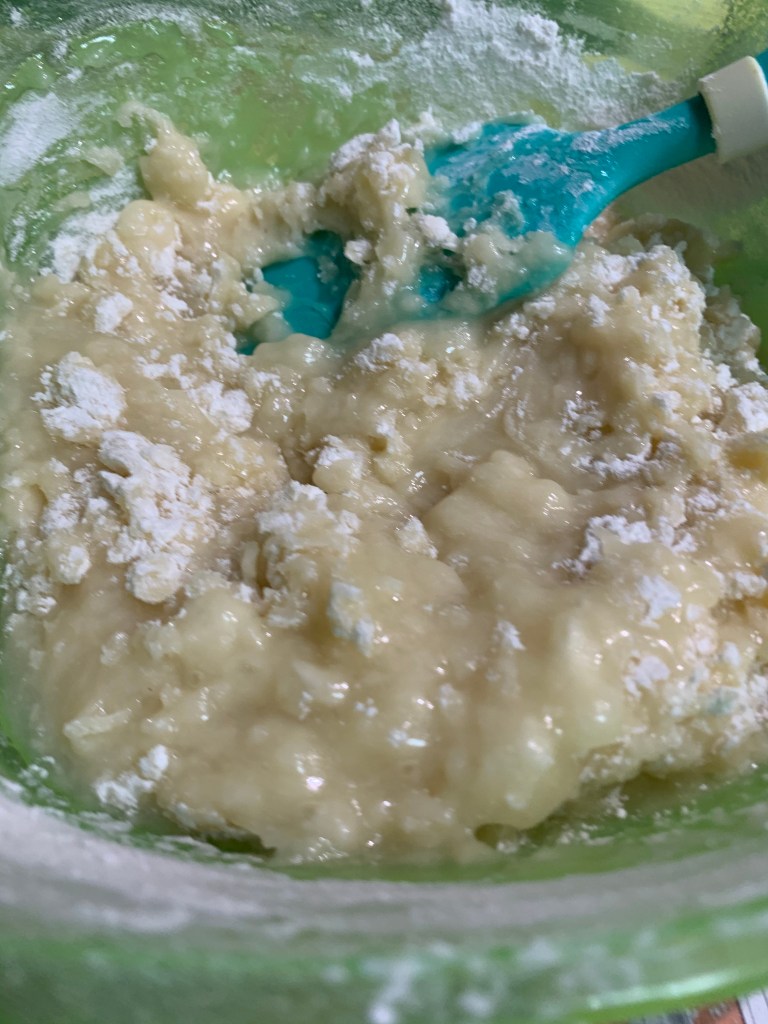
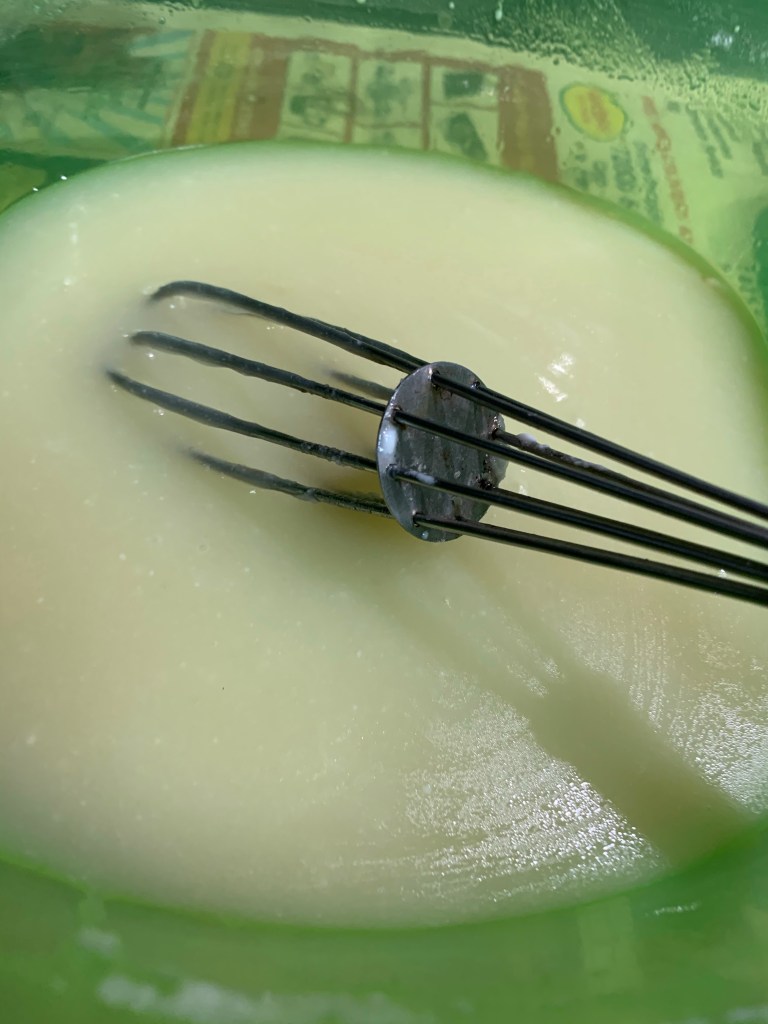
. If it forms a consistency of dough, then add milk slowly to form a flowy batter like this:
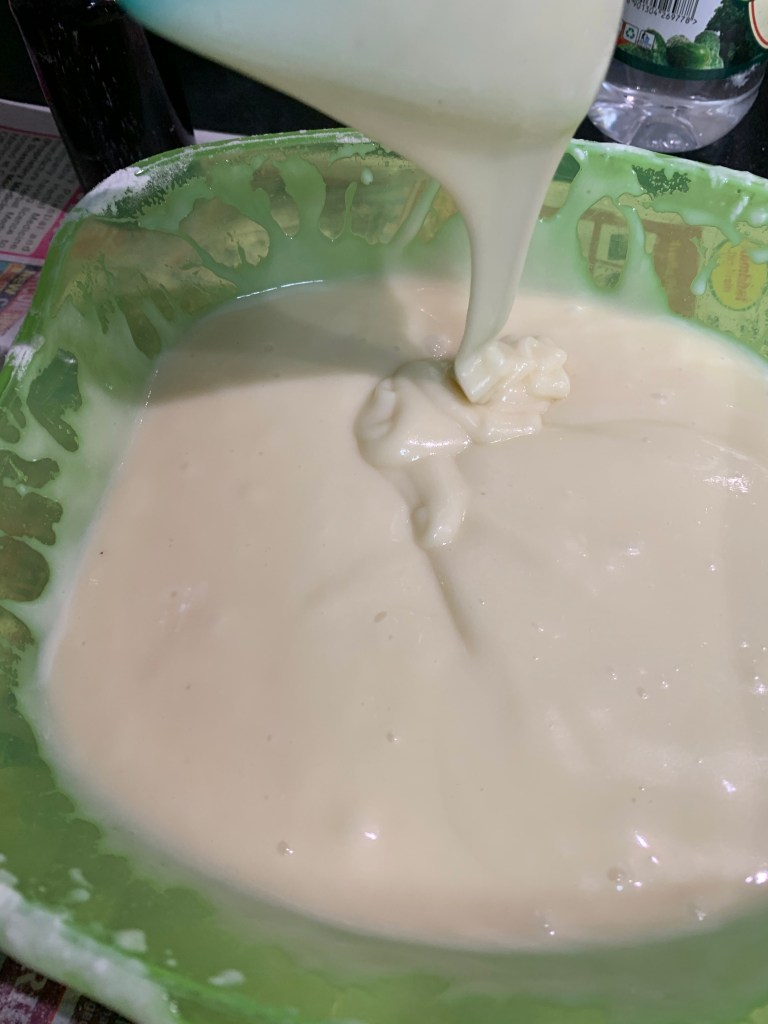
. If it is already flowy then no need to add milk as it depends on the curd you are using.
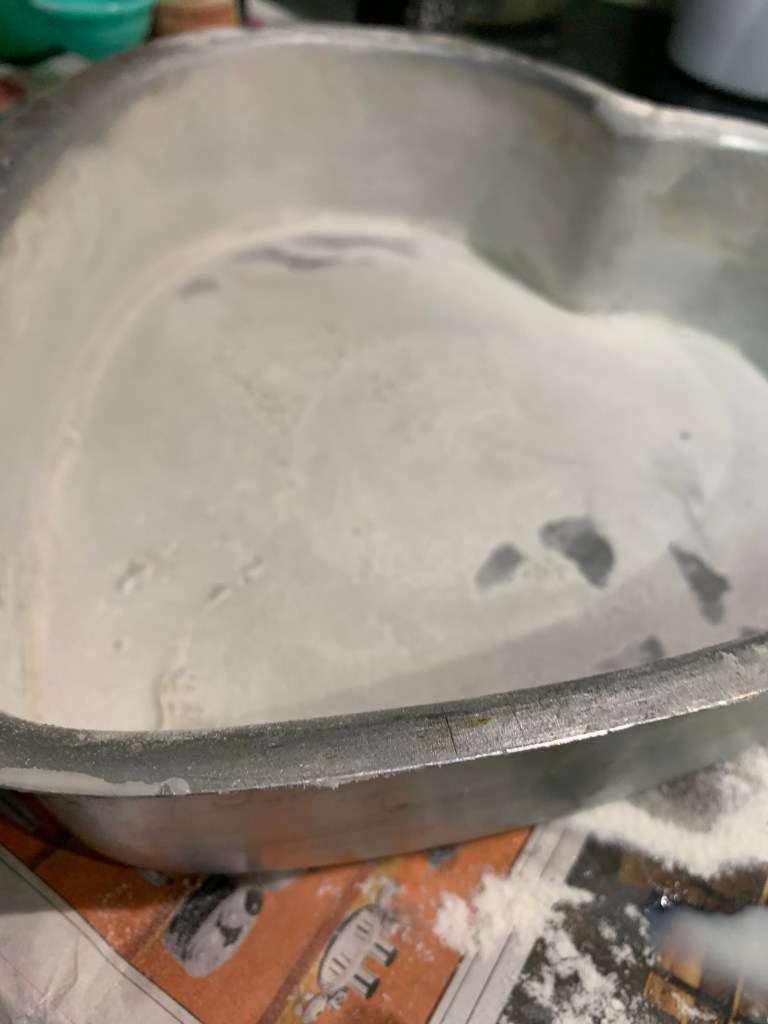
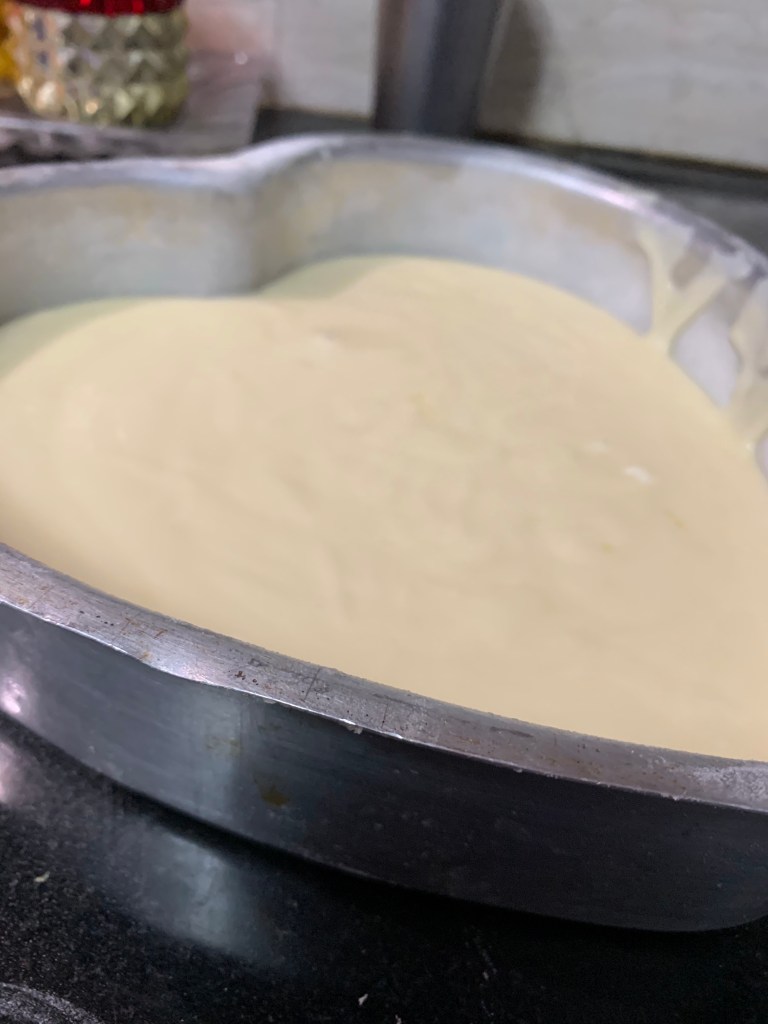
. Then grease a 7 inch cake tin( here I am using heart shaped tin) with oil and then dust it with flour. Pour the batter in this and bake it in a preheated oven for 30-35 minutes till a toothpick comes out clean.
Caramel sauce and homemade praline:
½ cup granulated sugar
2 tbsp water
3 tbsp fresh cream
2 tbsp salted butter
½ cup granulated sugar
¼ cup peanuts and almonds
Directions:
. For the sauce, add the sugar to a non stick pan in an even manner.
. Pour the water over this and let it be on low flame. Don’t stir anything or else the sugar will overlap each other and they won’t caramelise evenly.
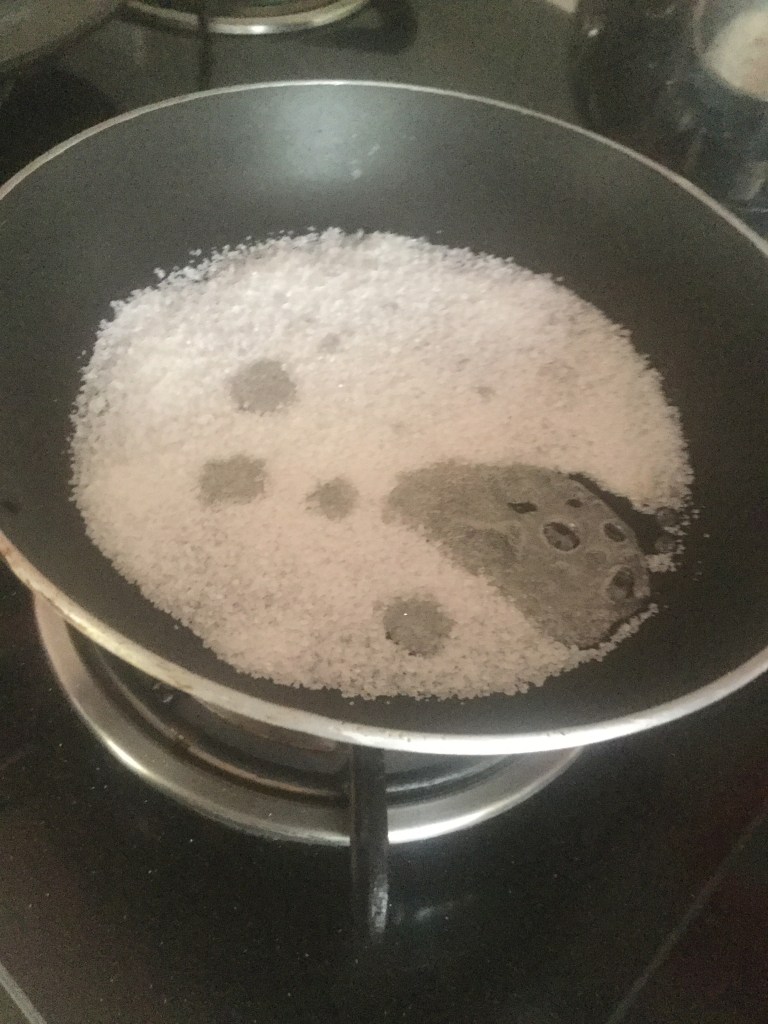
. Then, once it start to melt and change colour stir it gently by just turning the pan around(not stirring it with a spatula).
. Then, when it reaches a light red colour add the butter and cream and stir it continuously. It will bubble up vigorously and maintain a safe distance.
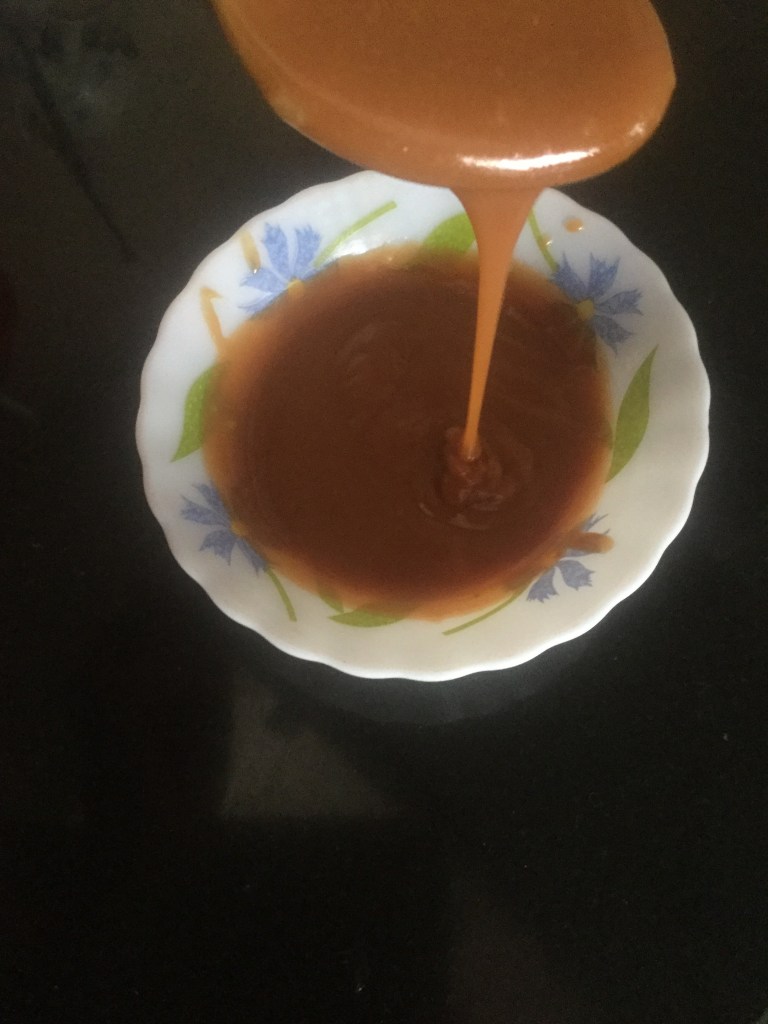
. Let it cool completely and the sauce is good to go. Here I am using store bought praline but for homemade, add the sugar to a non stick pan and let it it caramelise just like we did for the sauce earlier. Then add in the nuts and switch off the flame.
. Then, add it to a silicon mat or parchment paper and spread it over. Let it to cool completely and break it into pieces.
The cream and assembly:
Ingredients:
2 tbsp sugar
3 tbsp water
2 cups non dairy whipping cream
A glass of warm water
Directions:
. Here are the equipments that you might need to make the cake. You can do it without them but this make it too easy for you to execute.
. Chill the bowl in which you are whipping in, the whisk attachment, and the pallet knife in the freezer 1 hour prior. Also store the whipping cream in the freezer and transfer it to the fridge 6 hours before you have to make the cake. Make sure that your cake is completely cooled down before you frost it.
. Add sugar and water to a bowl and dissolve it. At this point you can add any flavouring that you might want to add to the sponge cake.
. Then place the bowl on top of an ice bath like this:
. Whip the cream first on low speed to activate the stabiliser and then on high speed. Make sure to whip it till stiff peaks form and the cream doesn’t fall off the spatula.
. Slice the cake into layers. Two if you are a beginner and three if you have experience. Place a cake board on the turntable and apply some cream on it. Keeping a cake slice on it, soak it with some sugar syrup.
. Then, place a bunch of whipped cream on it and spread it evenly to all corners with the knife. Spread some sauce and praline over this and then another layer of cream.
. Then repeat the process for all the layers. After the cream is spread for the top layer, scrape all the excess from the side with a card. It can be any plastic sheet or something not that flexible.
. Apply cream on the sides and spread it evenly with the knife. This is not the final coat it is just the crumb coat.
. You would see some cake crumbs on the side but that’s totally fine. On the top also apply some cream and make sure that the top is vaguely covered. Keep it in the fridge for half an hour for the layers to set.
. Then do the Final coat. For the final coat have a glass of warm water and a tissue paper or cloth next to you. For making sharp edges on the top make sure that you dip the palette knife inside the water and then clean it.
.keep this in the fridge again for 30 minutes for the top and sides to set.
. When I whipped cream I already saved some cream and kept it in the fridge so that it doesn’t melt. Take a piping bag and add any nozzle of your choice. Here I am using the Russian rose nozzle and star nozzle. After doing this add the leftover cream into two different piping bags. If you want you can even add colour into the cream before adding it in the bag
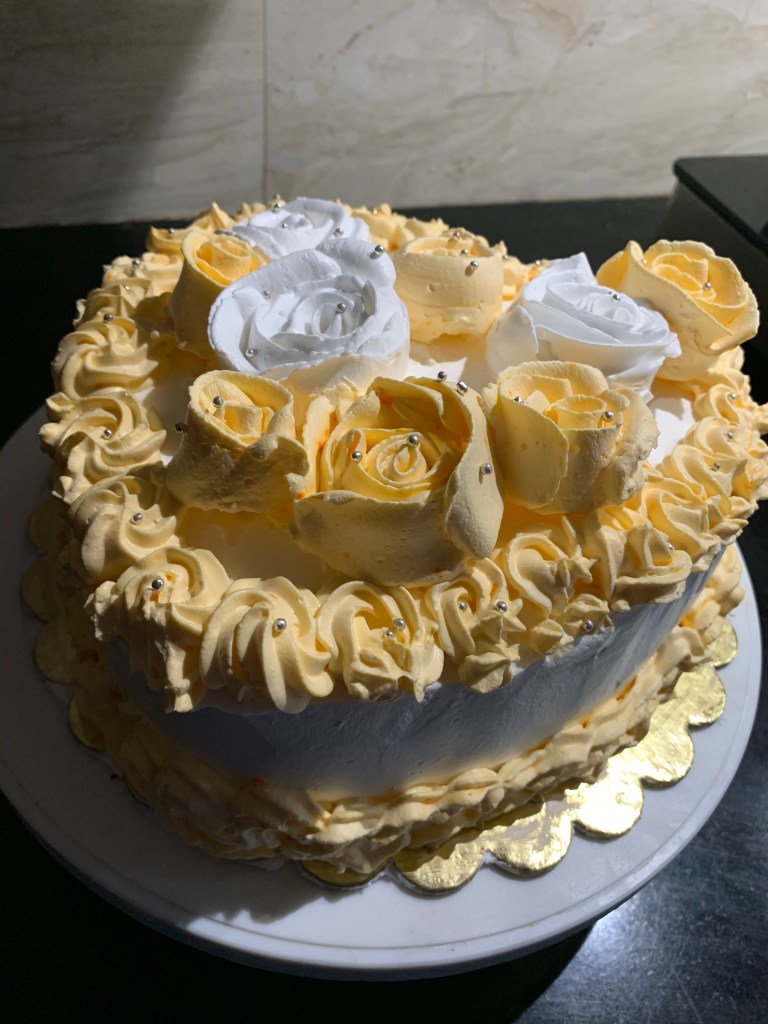
. Pipe the cream on the cake as you wish. This is the part where you get completely creative.
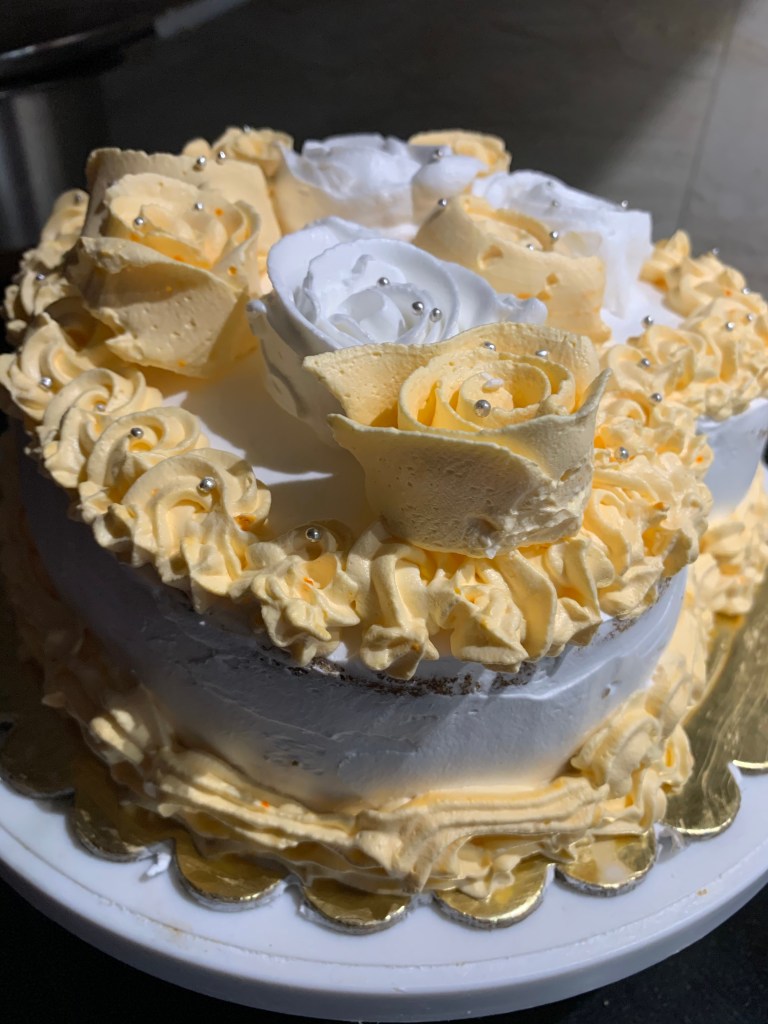
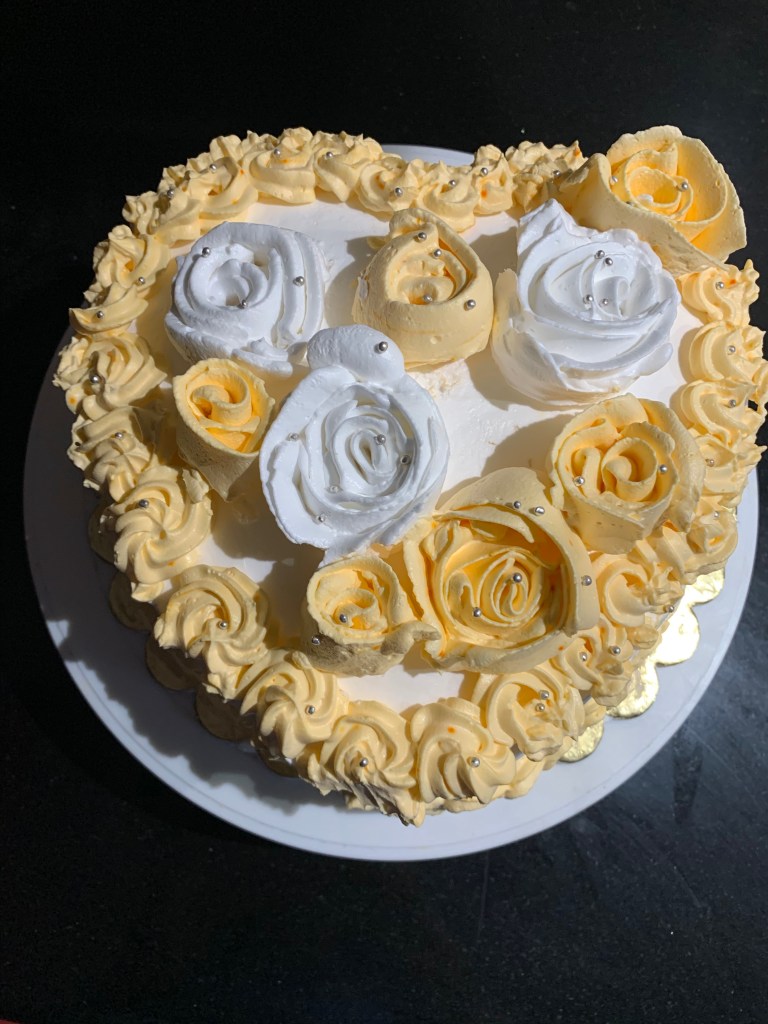
. Here, I am giving borders with star nozzle and making roses with Russian nozzle.
Keep it in the fridge for at least one hour before consuming it and then serve:


God bless u my child
LikeLiked by 3 people
Aww. Thank you so much papa! Wish you again❤️❤️😘
LikeLike
😍
LikeLiked by 2 people
Thank you!
LikeLike
Are wah! Yum!
LikeLiked by 3 people
Thank you so much ishita!
LikeLiked by 1 person
Thank u Aarushi it was yummy .God bless u always😘
LikeLiked by 2 people
Aww. You’re always welcome! Wish you again and love you!❤️❤️😘
LikeLiked by 1 person
Hi Aarushi! This cake looks fabulous, everything from the colors, to the cute heart shape and the flowers! 🤍💛🤍💛 It looks so delicious! 😄
LikeLiked by 3 people
Thank you sooo much Tanvi!i tried to resemble it to store bought as much as I can so we can take full utilisation out of lockdown🙃🙃
Glad you like it!
LikeLiked by 1 person
You did a fabulous job! Happy anniversary to your parents.
LikeLiked by 4 people
Thank you so much! I tried my best! I’ll convey your message!!🙃🙃
LikeLiked by 1 person
Oh wow! That looks so delicious. I love how you did the roses on top.
LikeLiked by 2 people
Thank you sooo much!❤️yes it was🤣🤣🤣
LikeLiked by 1 person
Lovely beautiful rosettes cake Aarushi 👌👌
Wonderful post with all useful instructions and videos.
It is slightly late but please convey wishes and blessings to your parents for a wonderful marriage anniversary!!
LikeLiked by 2 people
Thank you soooo much Deeksha!❤️
I’m really glad you like them and I tried my best🙃🙃
No worries at all. They would happy to hear from you as I have told a lot about you to them ❤️❤️and I’ll be sure to convey your message!😀
LikeLiked by 1 person
Nice… and nice photos. Lovely blog 🙂
LikeLiked by 1 person
Thank you! Im so glad you like it!❤️❤️
LikeLiked by 1 person
Wow! Very impressive! What a pretty cake!:)
LikeLiked by 1 person
Thank you so much! And thank you for visiting!❤️
LikeLike
Happy Belated Anniversary!
LikeLiked by 1 person
Thank you so much! I will convey😃
LikeLiked by 1 person
You welcome!☺
LikeLiked by 1 person
A great post without any doubt.
LikeLiked by 2 people
Thank you!
LikeLiked by 1 person
A great post without any doubt.
LikeLiked by 2 people
Thank you so much!
LikeLiked by 1 person
Nice i really enjoyed reading your blogs. Keep on posting. Thanks
LikeLiked by 2 people
Thank you!
LikeLike