Welcome to Little Chef’s apron! I am very excited for this post as it was my grandpa’s birthday today and in my first attempt the cake was very delicious! Here I will make the crush at home without the use of fresh fruits.
The cake:
1/2 cup refined oil( without flavour)
3/4 cup powdered sugar
1/2 tsp vanilla essence 1/2 tsp pineapple essence
1/4 cup fresh curd
1 1/4 cup all purpose flour
1 1/4 tsp baking powder
3/4 tsp baking soda
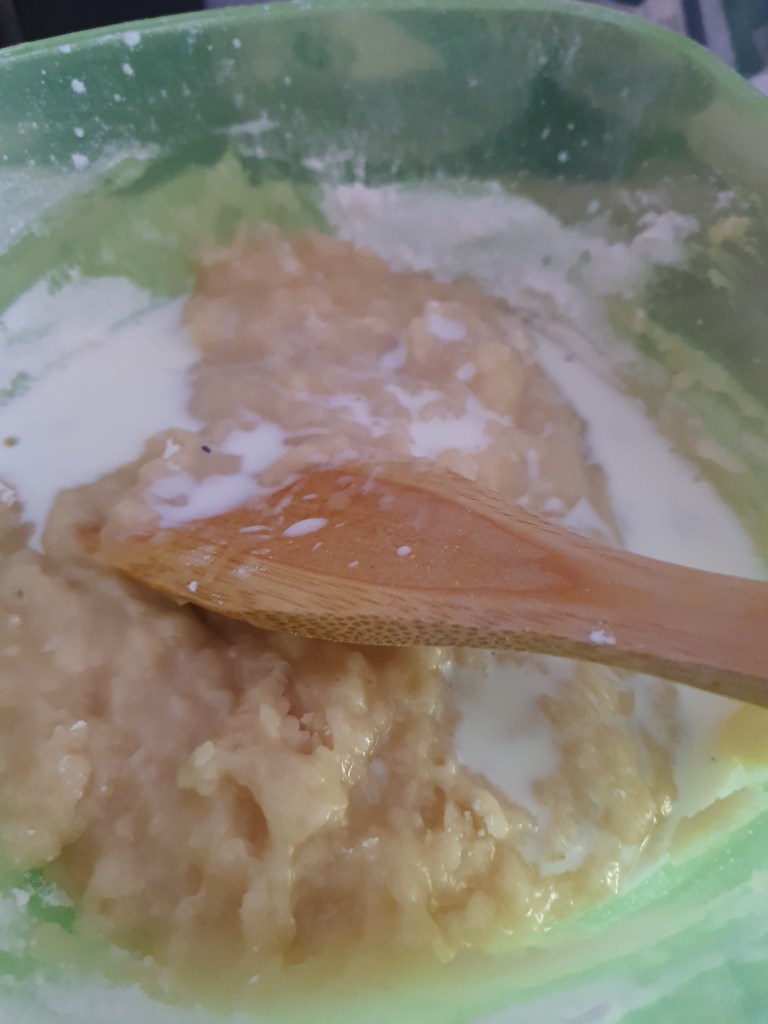
1/2 cup lukewarm milk
NOTE: all the ingredients should be at room temperature
Directions:
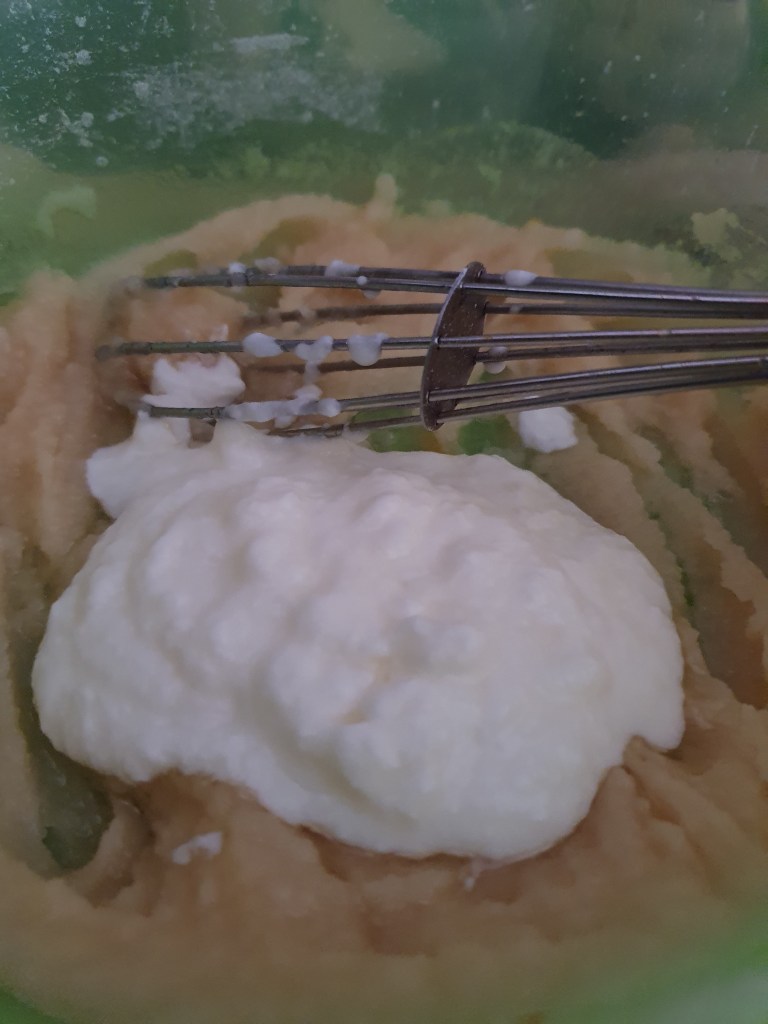
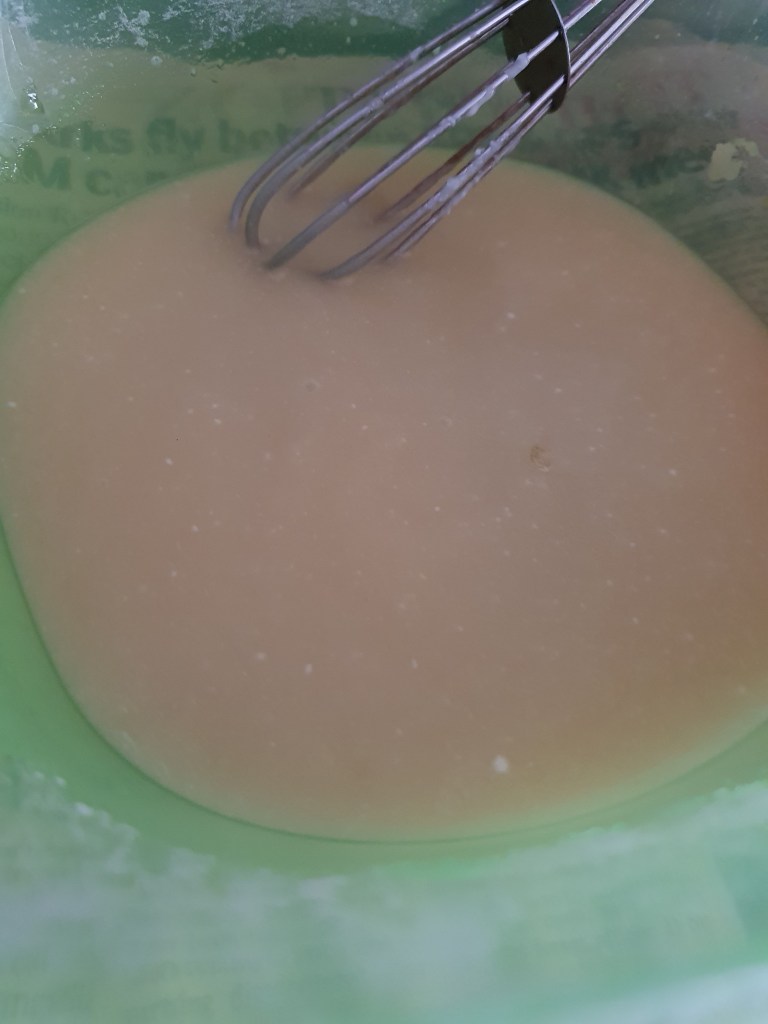
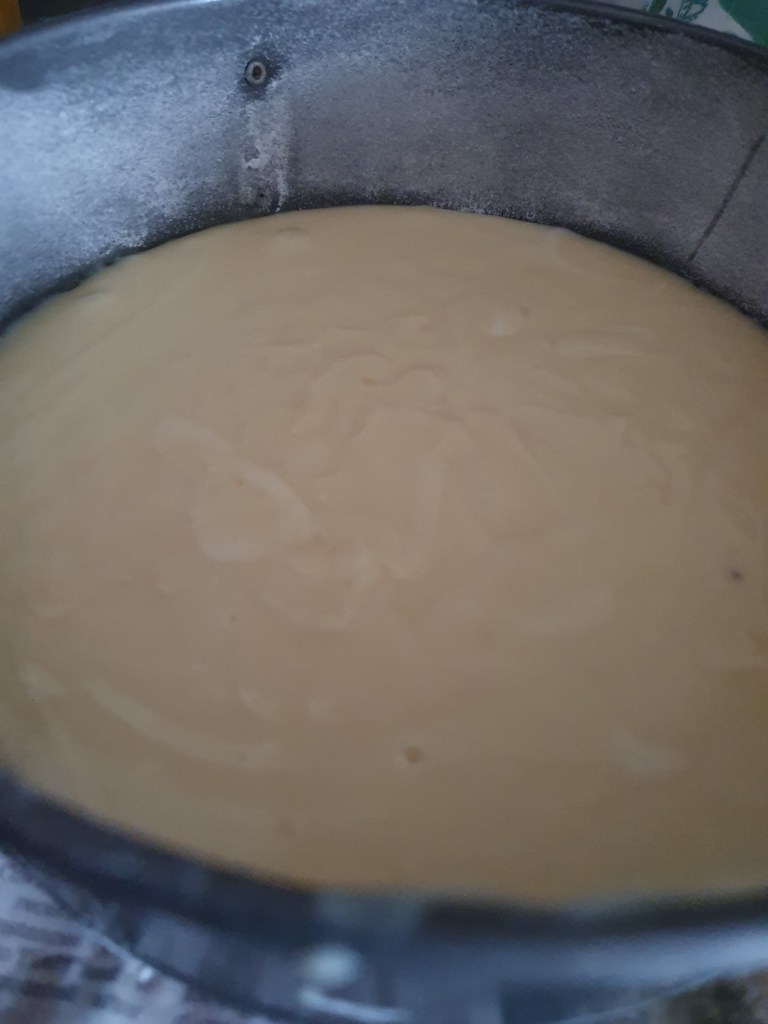
. First, add oil, sugar and essence in a bowl and whisk it nicely. Make sure that everything is well combined.Then add the curd and mix it thoroughly.
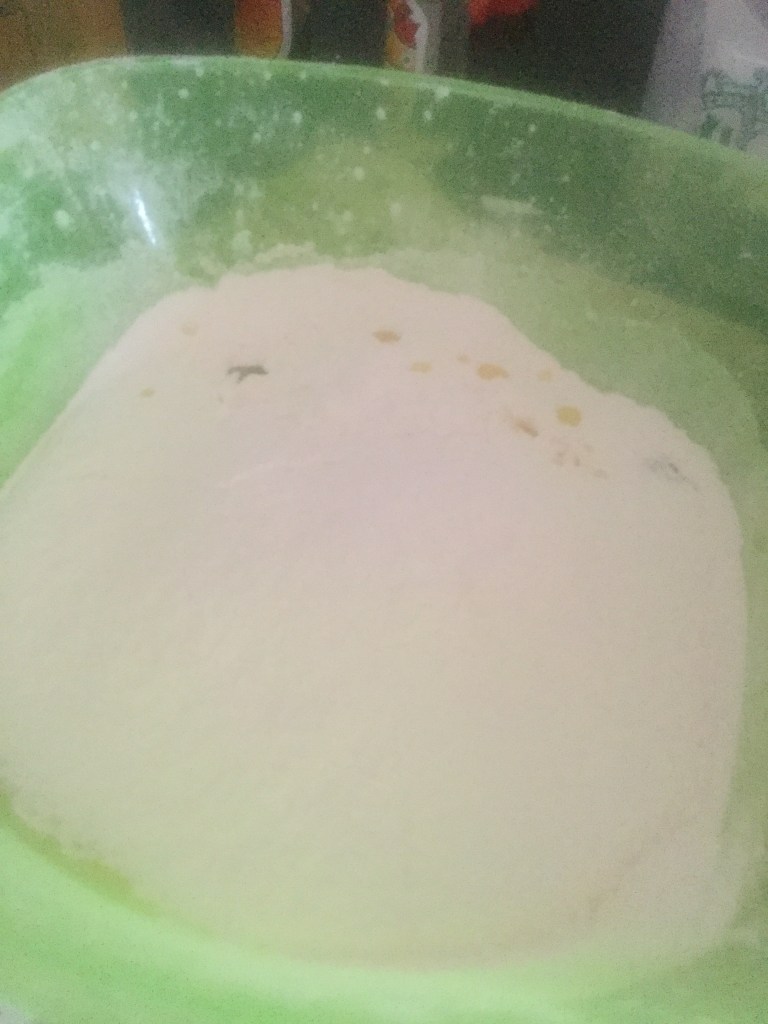
Sieve flour, baking powder and soda.Then mix it in cut and fold method.
If your batter is flowy enough then no need to add milk. But if it forms a dough consistency, then add milk little by little. The consistency also depends on the curd you are using.Keep mixing until everything is combined.
Preheat the oven at 180*C and grease a six inch tin with oil and dusted with flour.. Pour the batter in and tap to remove air bubbles. Bake the cake at 180*C for 30-35 minutes. Don’t check frequently and open the oven as then the heat would escape and the cake won’t rise..
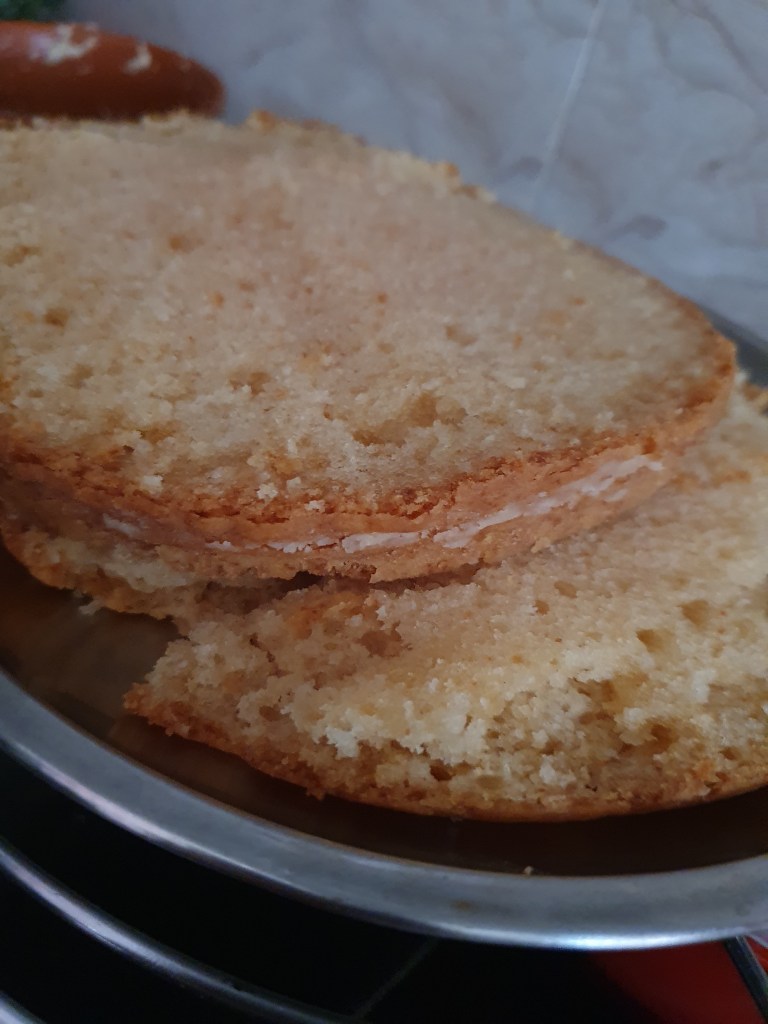
Make sure to cool your cake for at least 1-1.5 hours or else the cream would melt.. Cut into 2 layers with a long knife and keep it on a wire rack for it to cool down quickly.
Homemade gel/crush:
Ingredients:
1 cup water
1/2 cup granulated sugar
2 tbsp corn flour
Pinch of yellow food colour
1/4 tsp lemon juice
Directions:
First, add water and sugar to a pan. Then add colour, lemon juice and corn flour to this.


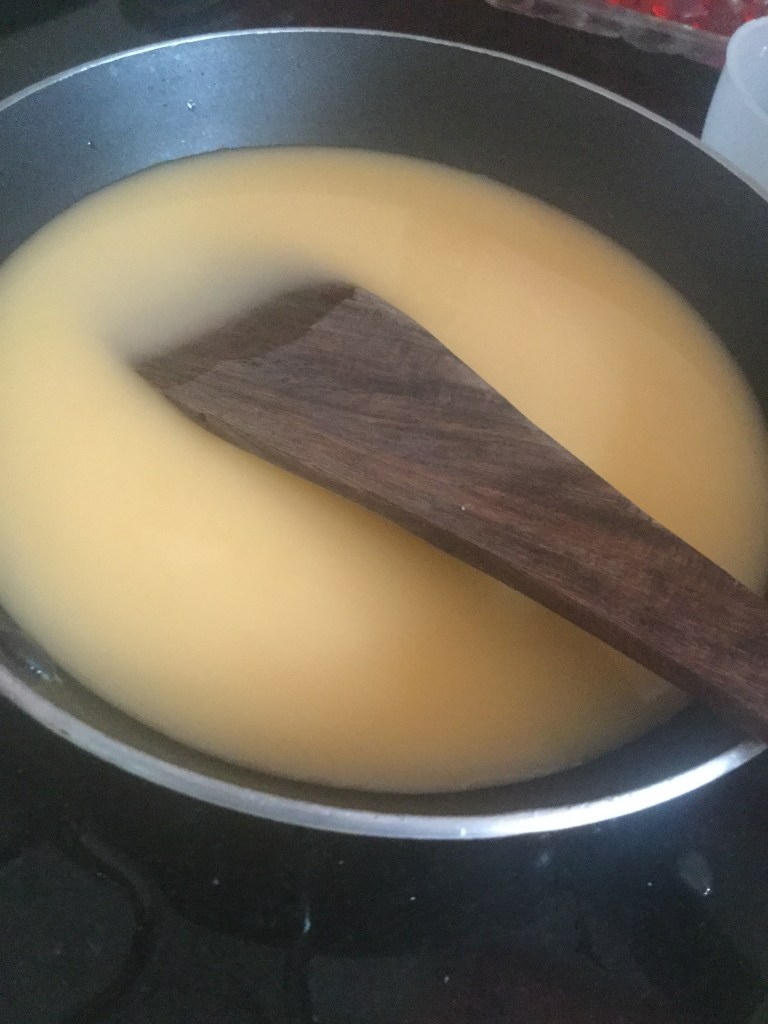
Make sure that everything is well combined before switching on the stove.. Place the pan on the stove on low-medium flame. In the first 3-4 minutes it’ll seem like nothing is happening but when it’s started thickening, it will happen very quick..
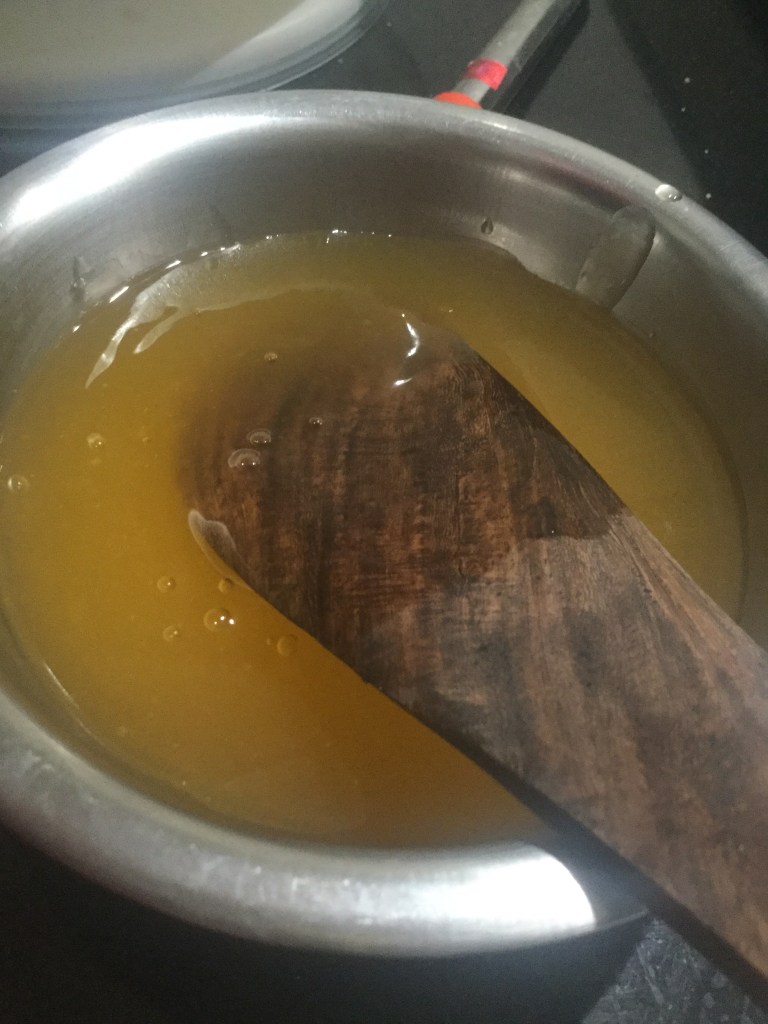
Take it out in a bowl and let it cool down completely.
Icing and assembling:
Ingredients:
1 cup non dairy whipping cream(you can also use powder. It’s easily available on Amazon.
2 tbsp sugar3 tbsp water
Direction:
Mix the sugar and water together and keep it aside. . Here are some equipments that you might need:.
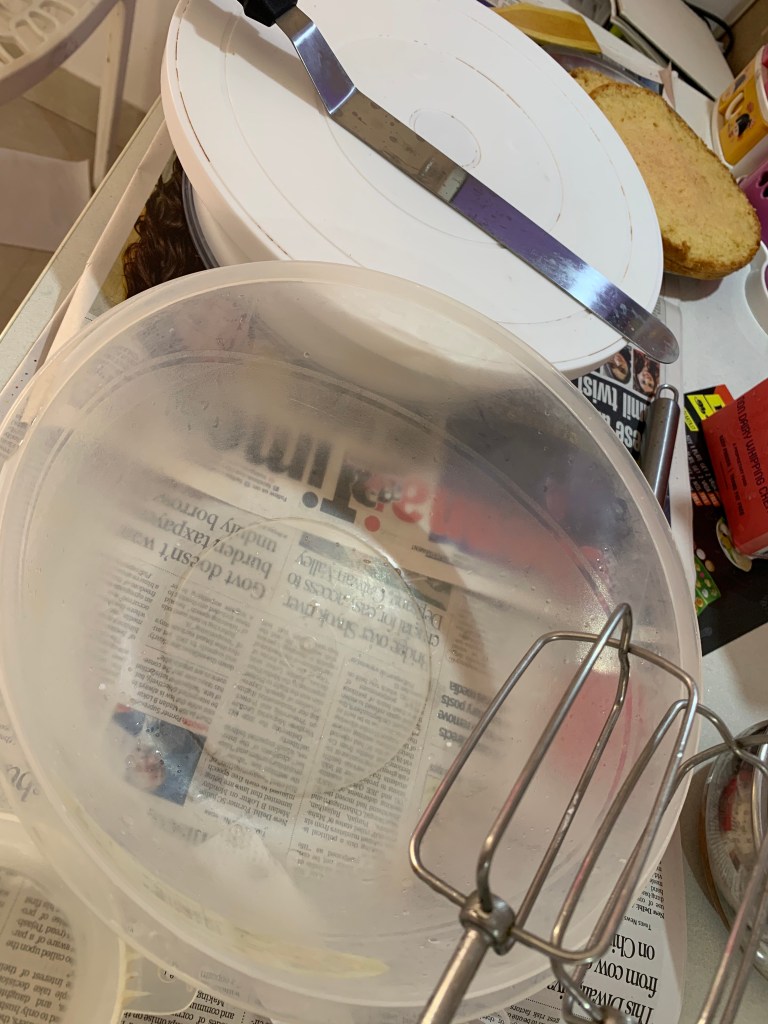
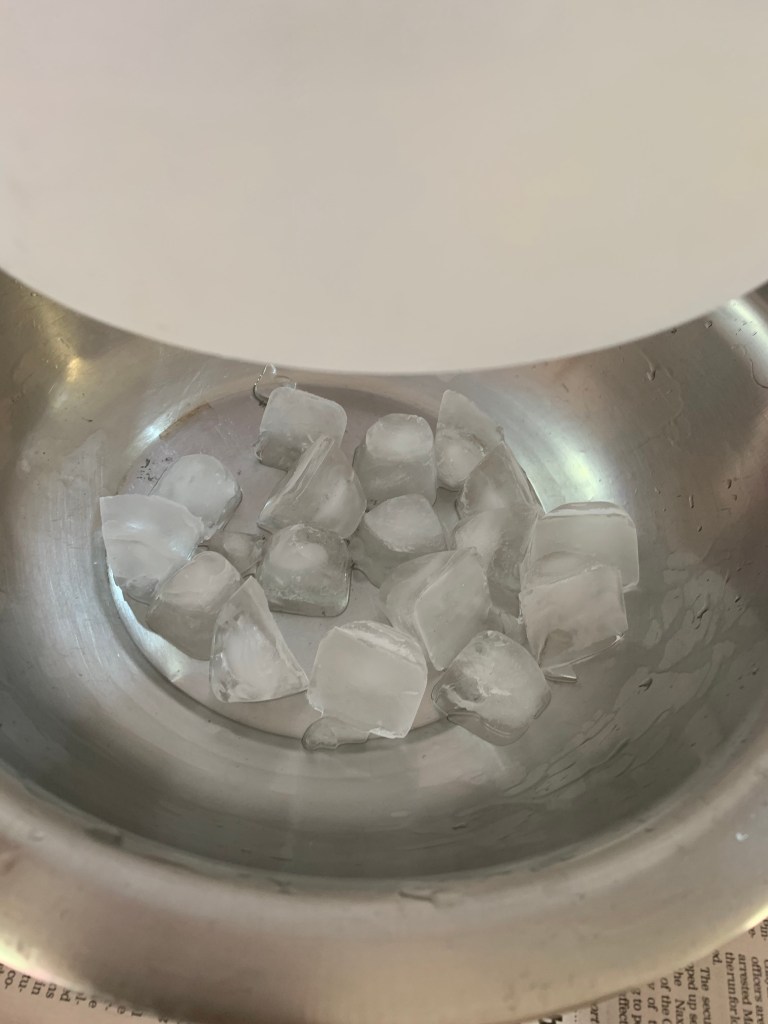
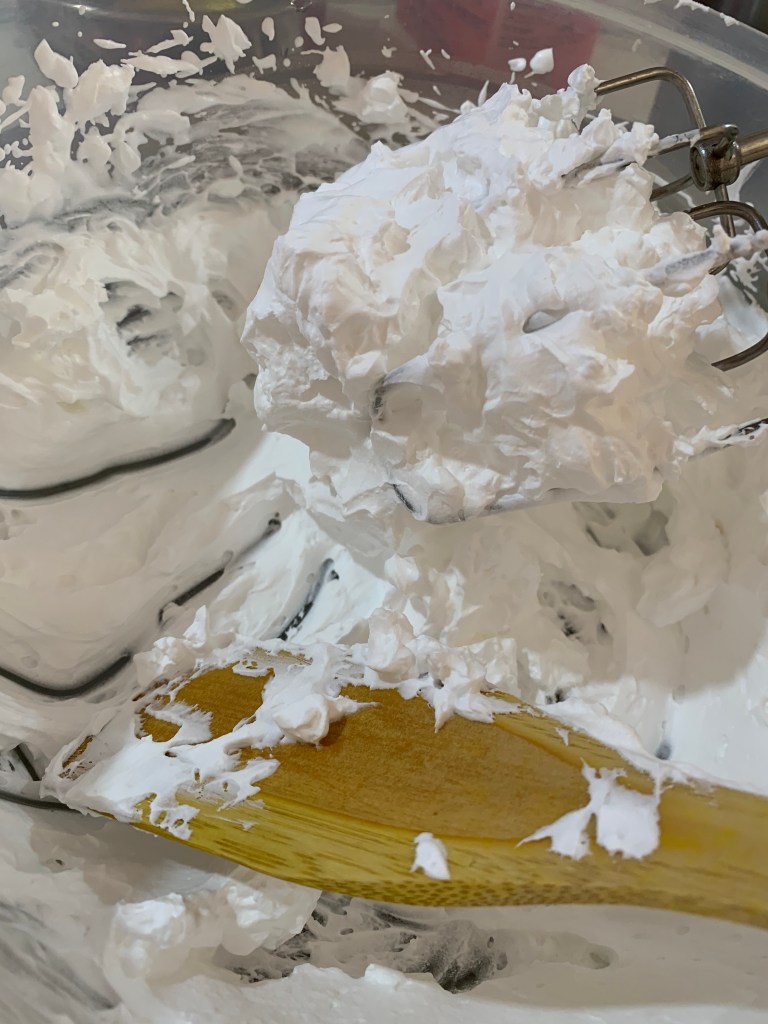
Chill the bowl, beater ( whisk attachment ) , pallet knife in the freezer 30 minutes prior. If you live in a humid place, make sure that you are whipping the cream over an ice bath and in an ac room.. In my first attempt with whipping cream, my cream had melted and wasn’t holding its shape..
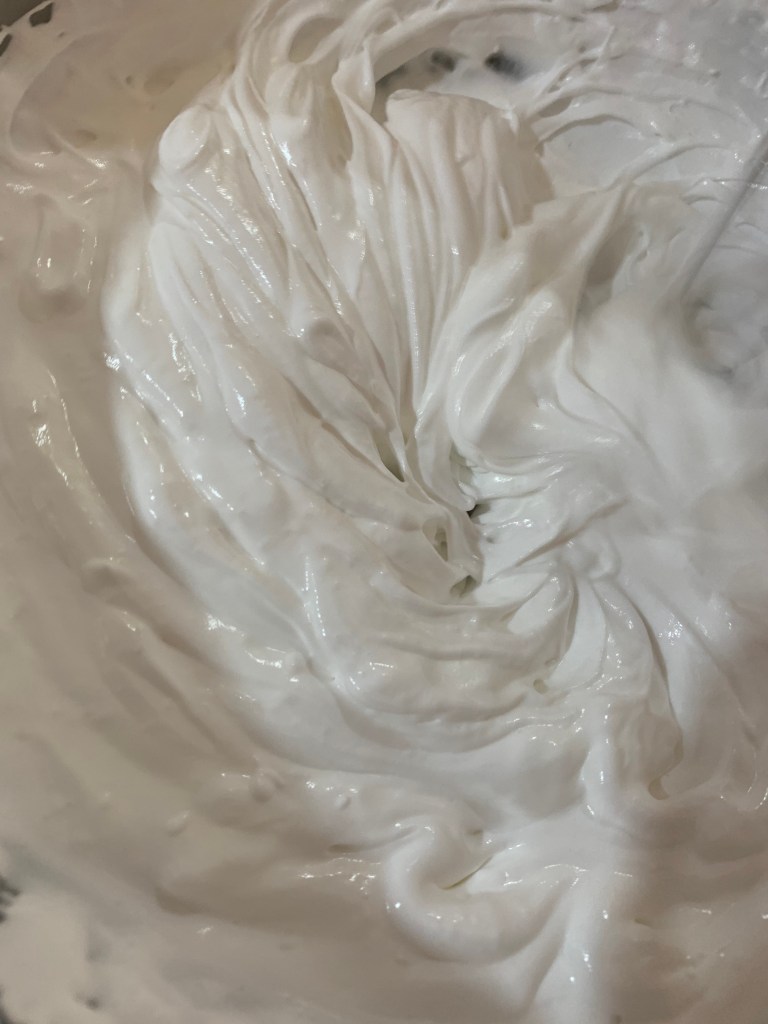
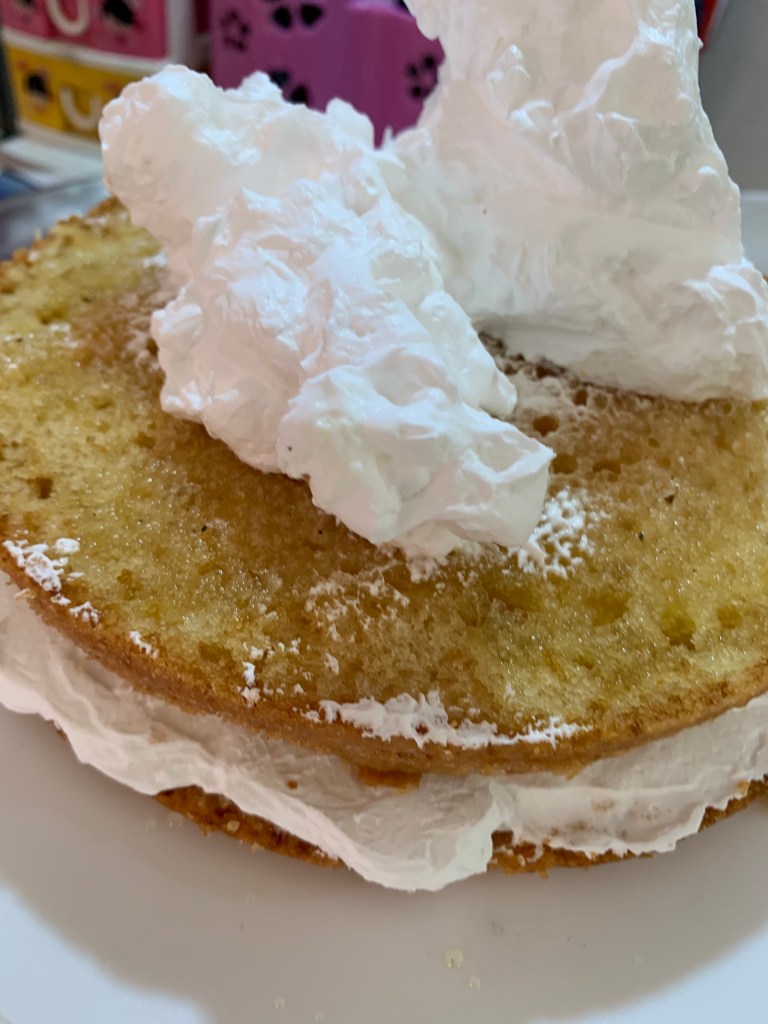
Whip the cream till stiff peaks form and the cream is not falling off the spatula. Place a cake slice over the turntable. Soak it with the syrup made earlier..

Drop some cream over it and spread it with the help of the knife. Make sure that all the edges and sides are covered.. Place the second layer on it and do the same as done with the first layer..
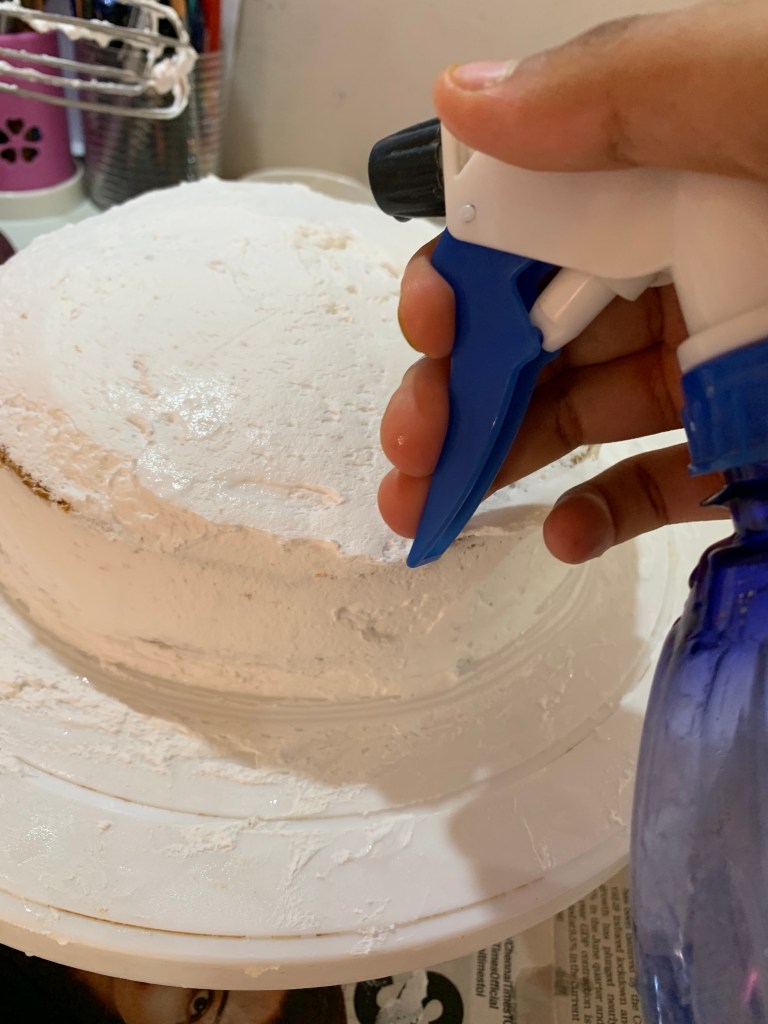
Once this is done, apply some cream on the sides of the cake and run a knife around it. Take a card or a plastic sheet and hold it in one place. Turn the table hastily and the excess cream would come out.. For smooth top, dip the spatula in warm water and clean it with a cloth. Just pull in from the sides towards the centre of the cake. This would result in sharp edges. If the cream feels dry and has air pockets, sprinkle some water.
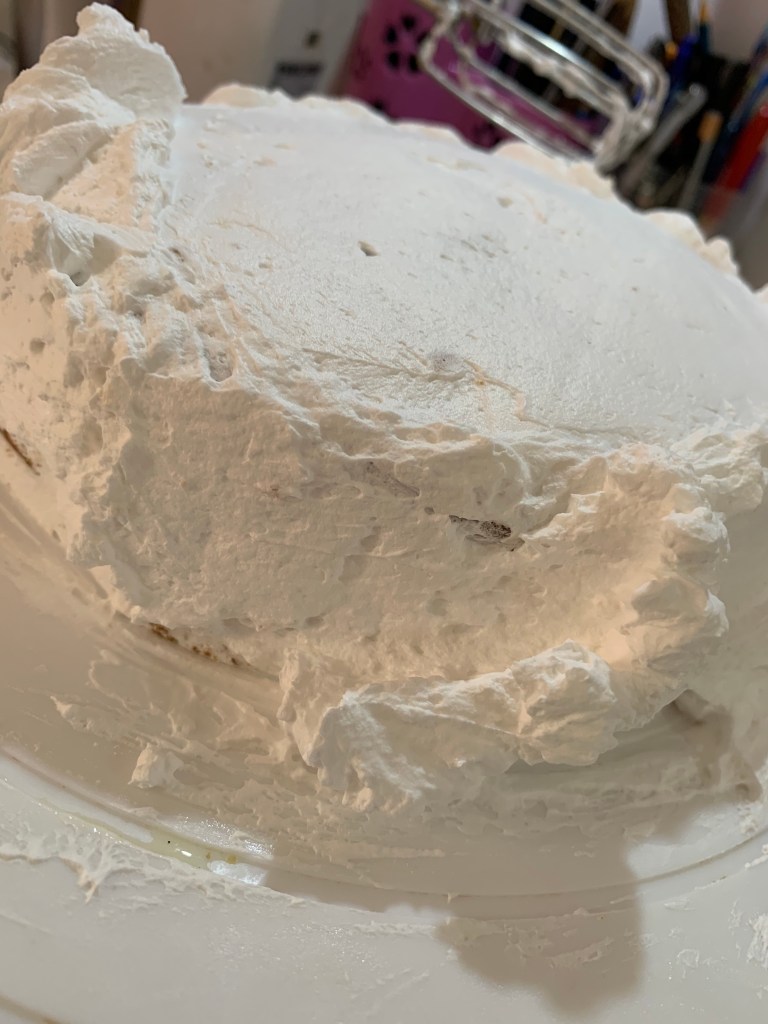
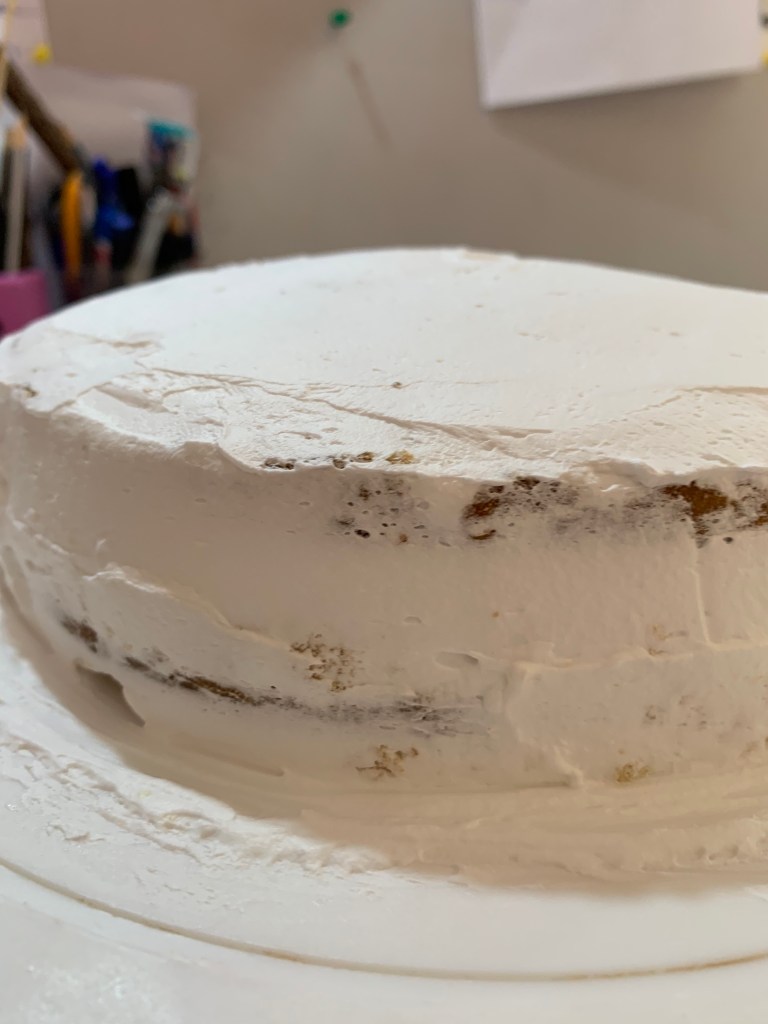
. If the cream feels dry and a lot of air pockets are there then just spray some water.
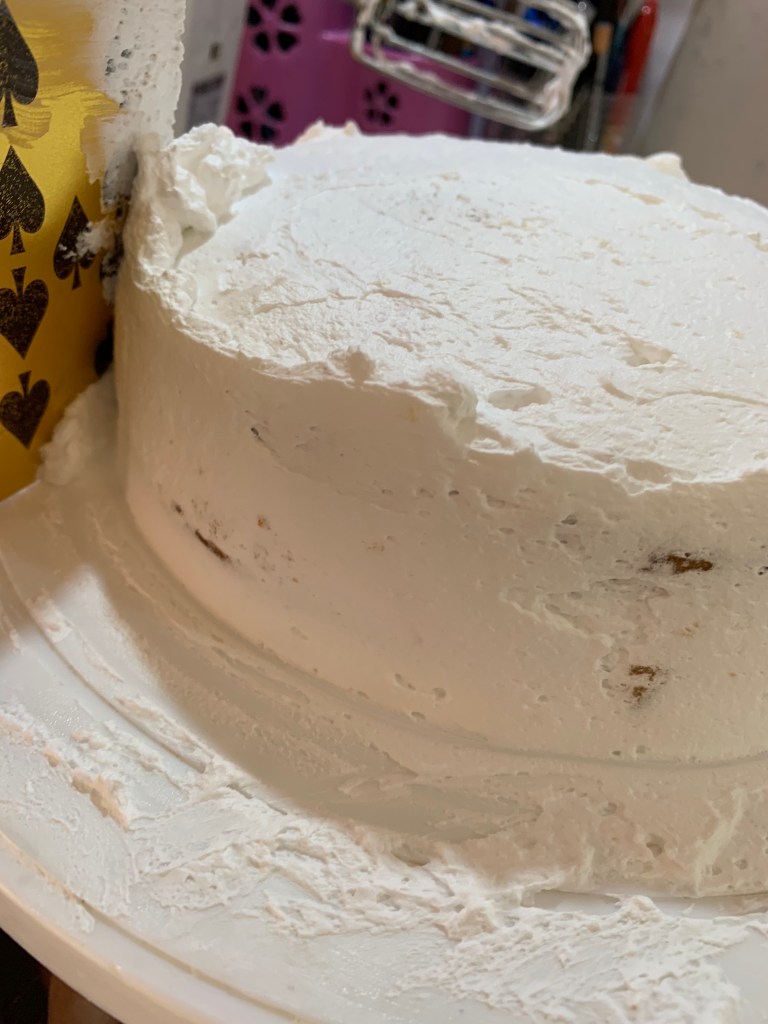
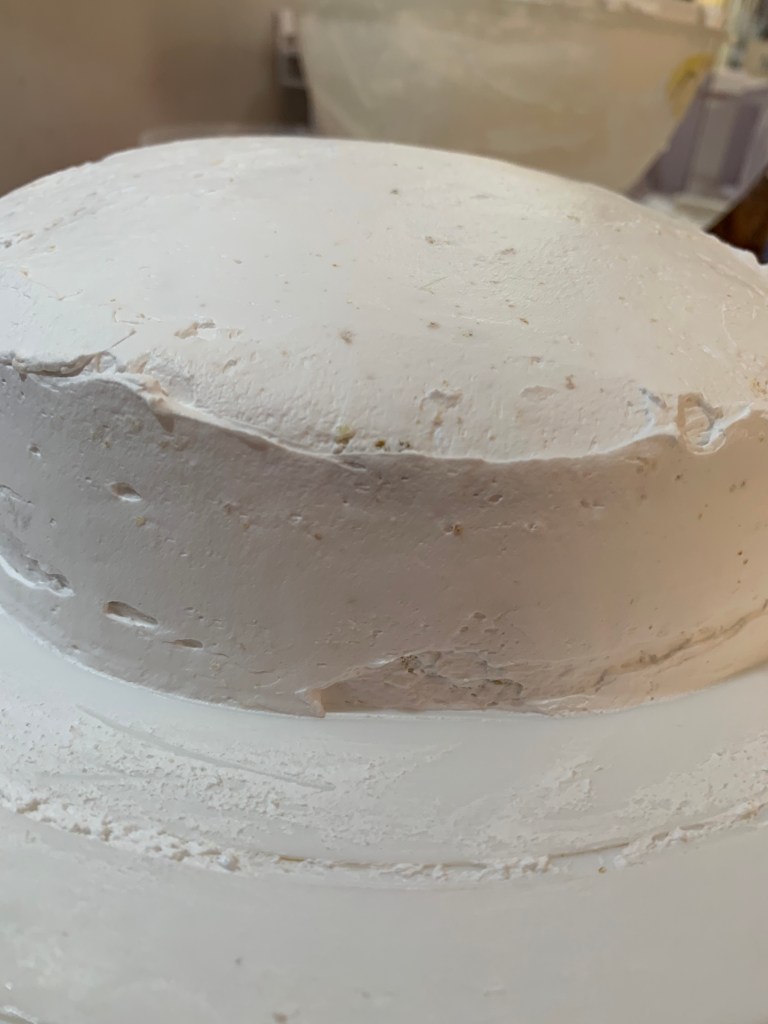
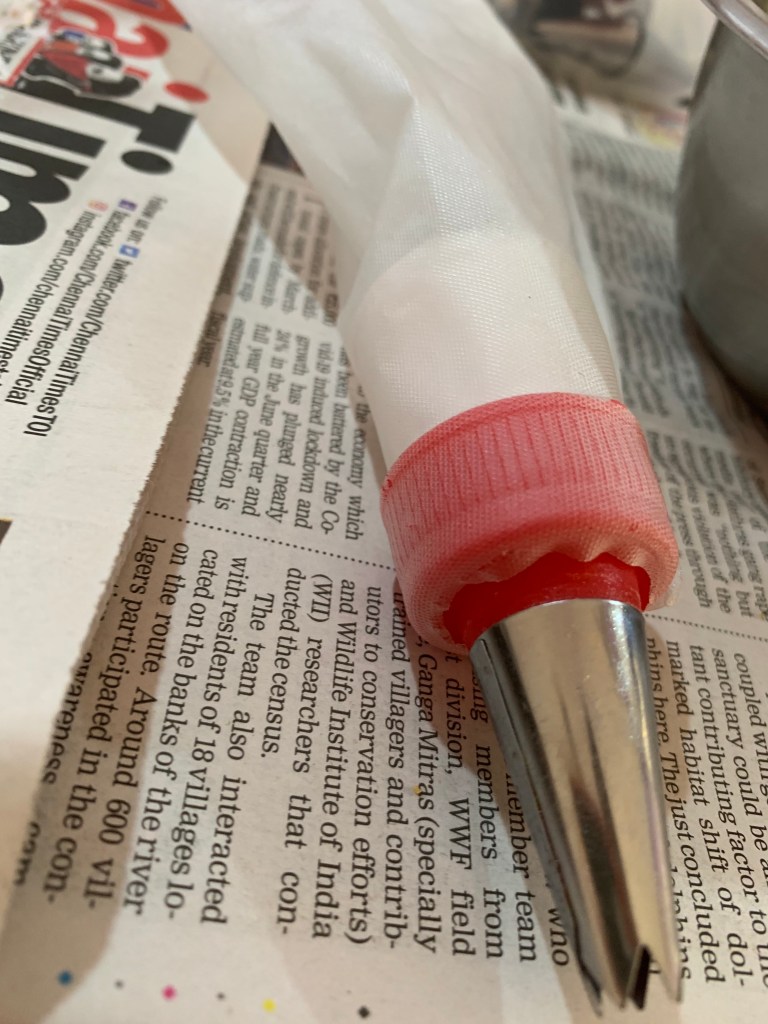
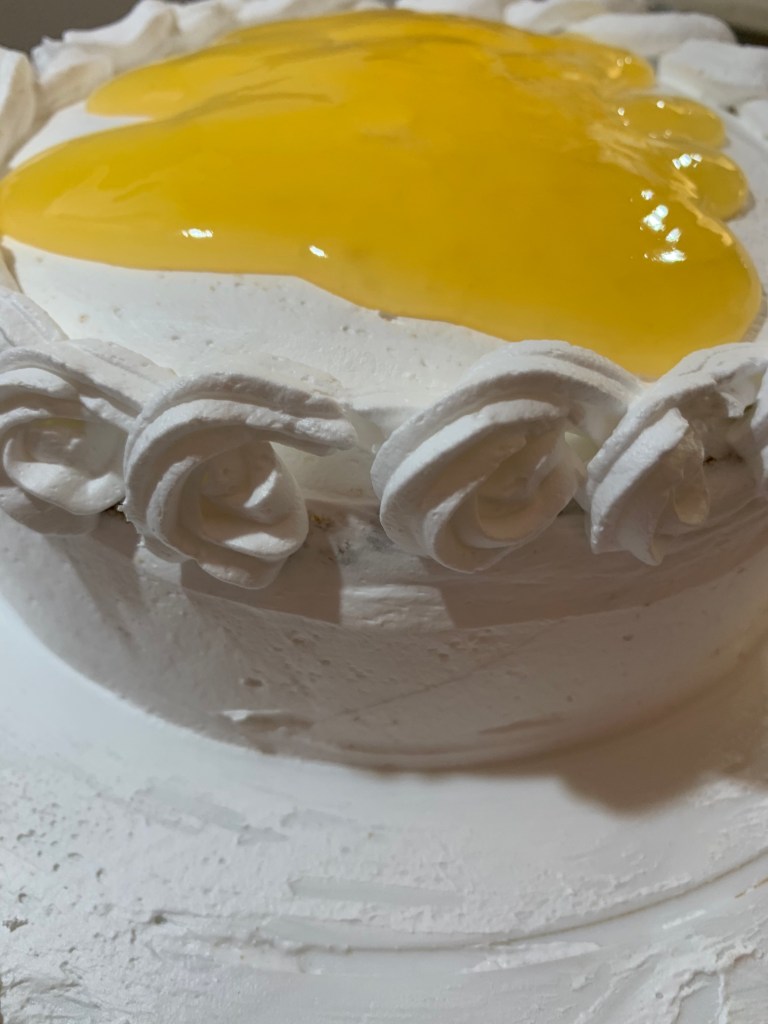
Keep the cake in the refrigerator for 30 minutes for the layers to set. Then for the final coating, follow the same procedure of applying cream on the sides and smooth ending the top. . When I whipped the cream I already kept some cream in the refrigerator for the piping process. I am using a star nozzle. Add the remaking cream to a piping bag and squeeze it out to remove any extra air bubbles.Make design over the cake as you like and get creative!
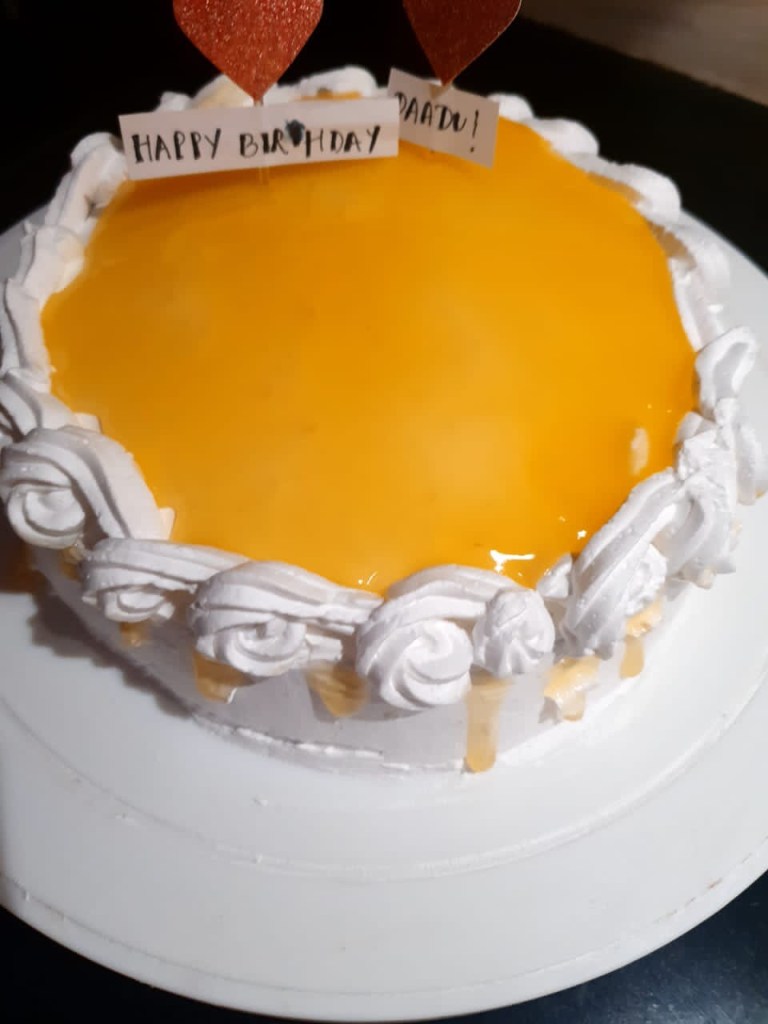
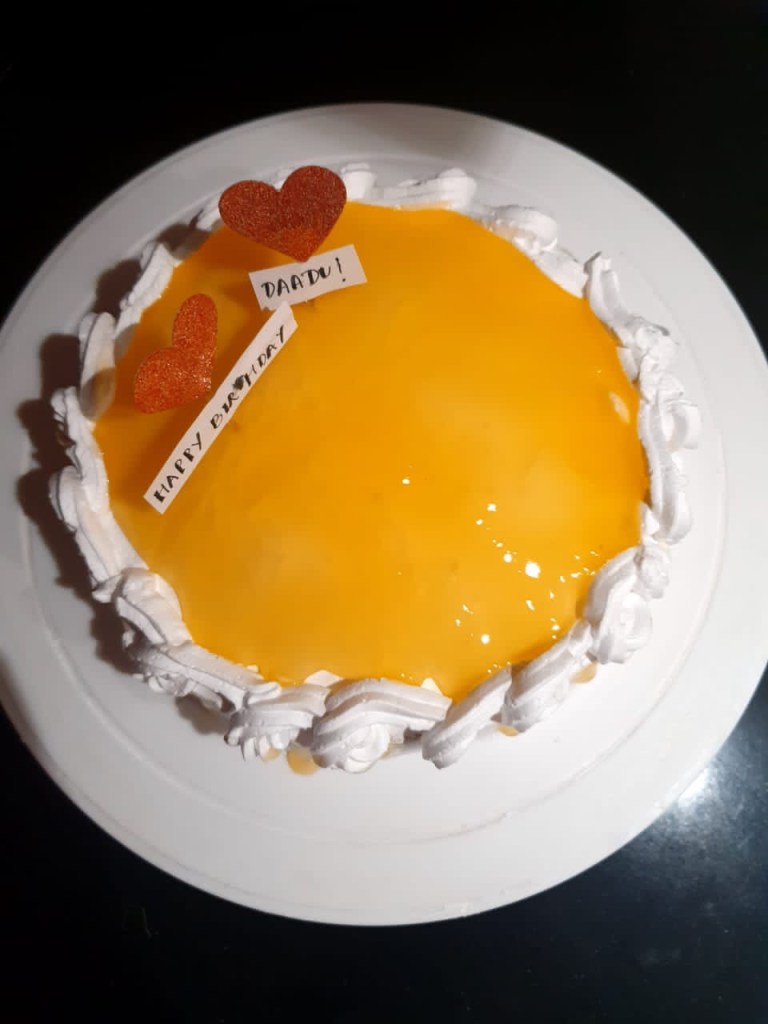
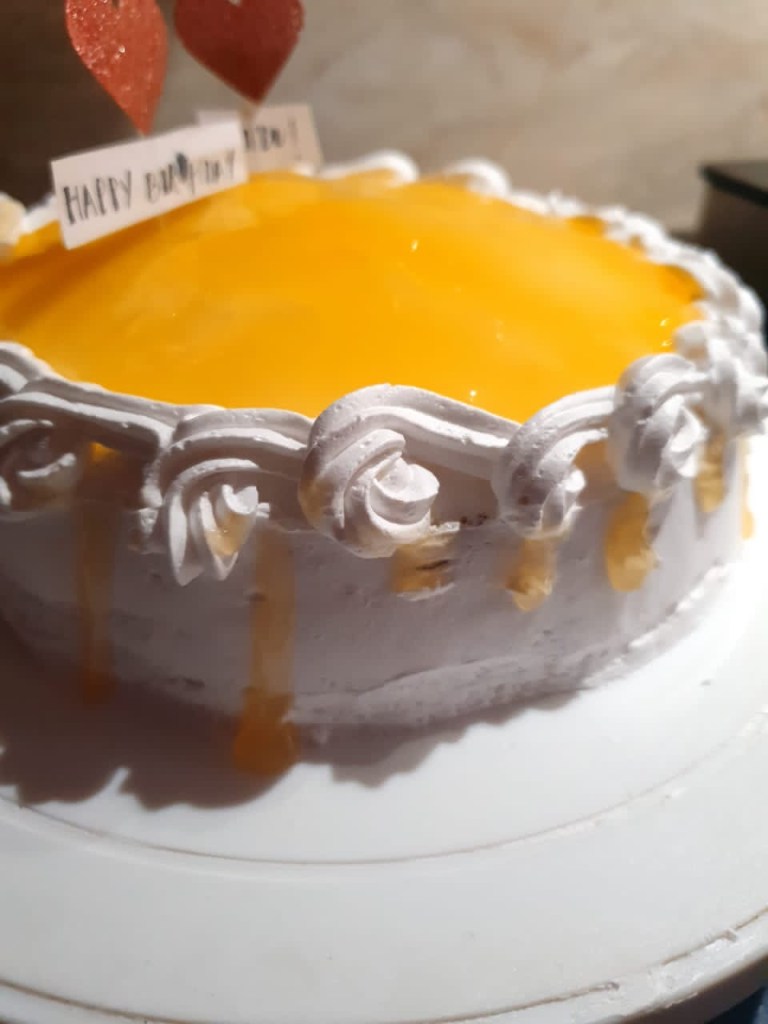
In the middle of the cake pour some gel prepared earlier and even on the sides to get the drip effect.. Chill it in the refrigerator for at least 1 hour and serve! Clean the excess cream on the board with a tissue paper.
Do let me know how you liked the recipe and what are your favourites ? Also le time know any improvements or requests that you have.


Delicious
LikeLiked by 1 person
Thank you!
LikeLike
Yummy
LikeLiked by 1 person
Thank you!
LikeLike
Happy Birthday to your grandpa! I bet he loved the cake! It looks delicious, so pretty! 😃👍😁
LikeLiked by 1 person
Thank you Tanvi! I’ll convey your message to him!!🙃
Yes he did a lot! We all did tho!🤣
Thank you for your appreciation!
LikeLiked by 1 person
😄
LikeLiked by 1 person
We’re are almost the same age. Do visit my blog at once! Well, and cake seems delicious! Maharashtrian?
LikeLiked by 1 person
Oh great to hear that. Thank you Tanvi. No actually a proper North Indian settled in south.
I checked out your blog it’s really nice! Do find my little comment there!
LikeLike
Yeah.. Sure, and I agree there!
LikeLiked by 1 person
Yum!
LikeLiked by 1 person
Thank you! And thank you for the marathon reading 😅
LikeLiked by 1 person
No problem 🙂
LikeLiked by 1 person
Belated birthday wishes to your grandfather. I am sure he must be very proud of her little chef granddaughter with such a beautiful cake!
LikeLiked by 1 person
Thank you! I’ll convey your message to him! Aww. Thank you so much for the lovely lines Deeksha! Yes he appreciated me alot❤️.. I am very happy that you liked it!
LikeLiked by 1 person
Belated happy birthday to your grandpa! May God bless him with long life. Cake seems yummy! ❤️
LikeLiked by 1 person
Thank you! I’ll convey your message🙂
LikeLiked by 1 person